Getting Started
This page walks you through installing Sowel, logging in for the first time, and configuring your home.
Prerequisites
- Docker (recommended) or Node.js 20+ for manual installation
- At least one integration installed from the in-app catalogue (Administration > Plugins). Sowel ships with plugins for Zigbee2MQTT, Shelly, Panasonic, MCZ, Netatmo, Legrand, Tasmota, SmartThings, and more. New plugins install in seconds and the list grows over time.
Fresh host?
If Docker is not yet installed on your machine, or if you plan to use MQTT plugins (Zigbee2MQTT, Tasmota, Shelly...) without an existing broker, read Preparing the Host first. That page covers Docker and Mosquitto setup on Raspberry Pi, Debian and Ubuntu.
Installation
Option 1: One-command install (recommended)
The quickest way. Pulls the official docker-compose.yml, starts Sowel and InfluxDB together, waits for the engine to come up, and prints the URL when ready:
Defaults:
- Installs into
~/sowel/(override withSOWEL_DIR=/your/path) - Exposes Sowel on port
3000(override withSOWEL_PORT=8080for example) - Auto-detects your host timezone and patches the compose file
When done, open the printed URL in your browser.
Option 2: Manual Docker install
If you prefer to do the steps yourself:
mkdir ~/sowel && cd ~/sowel
curl -O https://raw.githubusercontent.com/mchacher/sowel/main/docker-compose.yml
docker compose up -d
This starts:
- Sowel engine on port
3000 - InfluxDB on port
8086(used internally for energy and history data)
Then open your browser:
- Local install —
http://localhost:3000 - Remote install (e.g. Raspberry Pi, NAS, dedicated server) —
http://<host-ip>:3000, where<host-ip>is the LAN address of the machine running Sowel
Option 3: Run from source (development)
For contributors and developers:
git clone https://github.com/mchacher/sowel.git
cd sowel
npm install
npm run dev                            # backend on :3000
# in a separate terminal
cd ui && npm install && npm run dev    # frontend on :5173 with hot reload
Development vs production
When running with npm run dev, the UI is on port 5173 (Vite dev server with hot reload). In Docker mode, the backend serves the built UI on port 3000.
First login
When you open Sowel for the first time, a setup page asks you to create the administrator account:
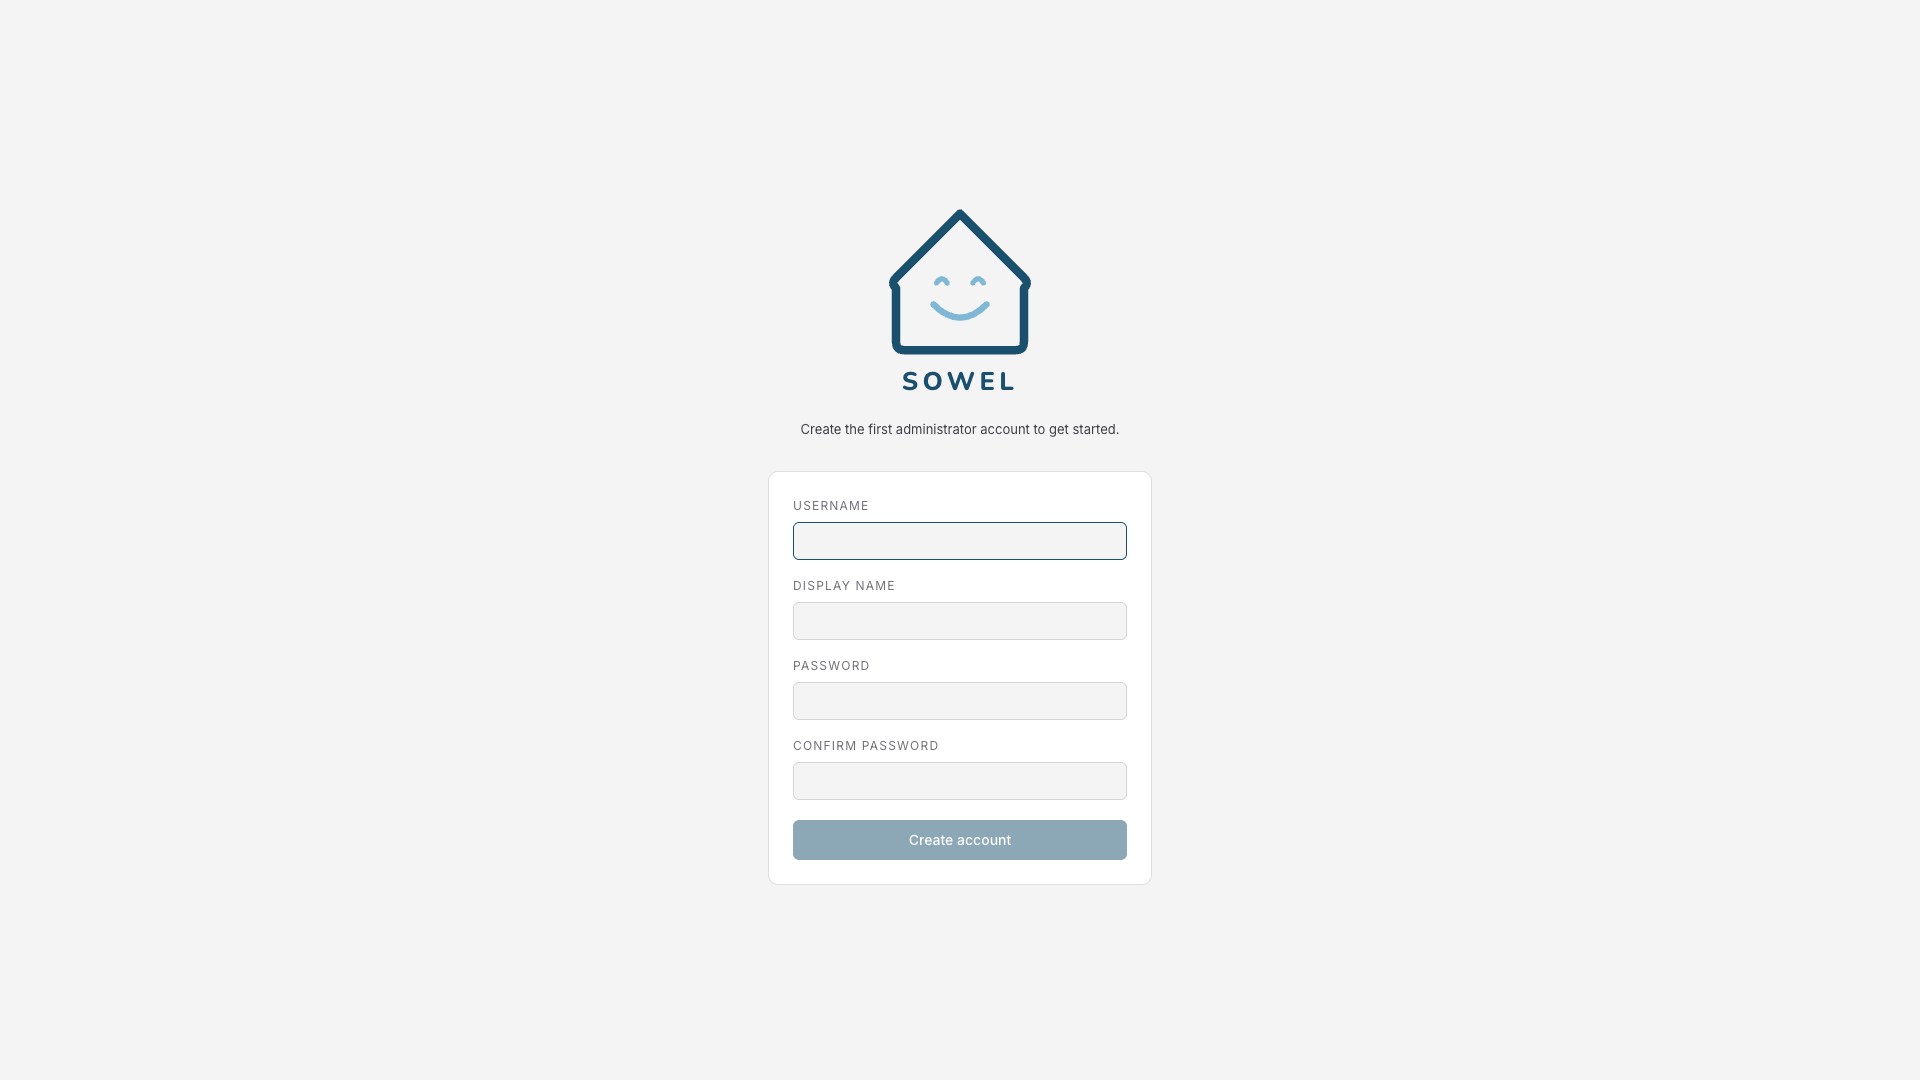
Fill in:
- A username (e.g.
admin) - A display name shown in the UI
- A password, confirmed twice
This creates the first administrator account. You can add more users later from Settings.
Warning
There is no password recovery mechanism. Make sure you remember your admin credentials.
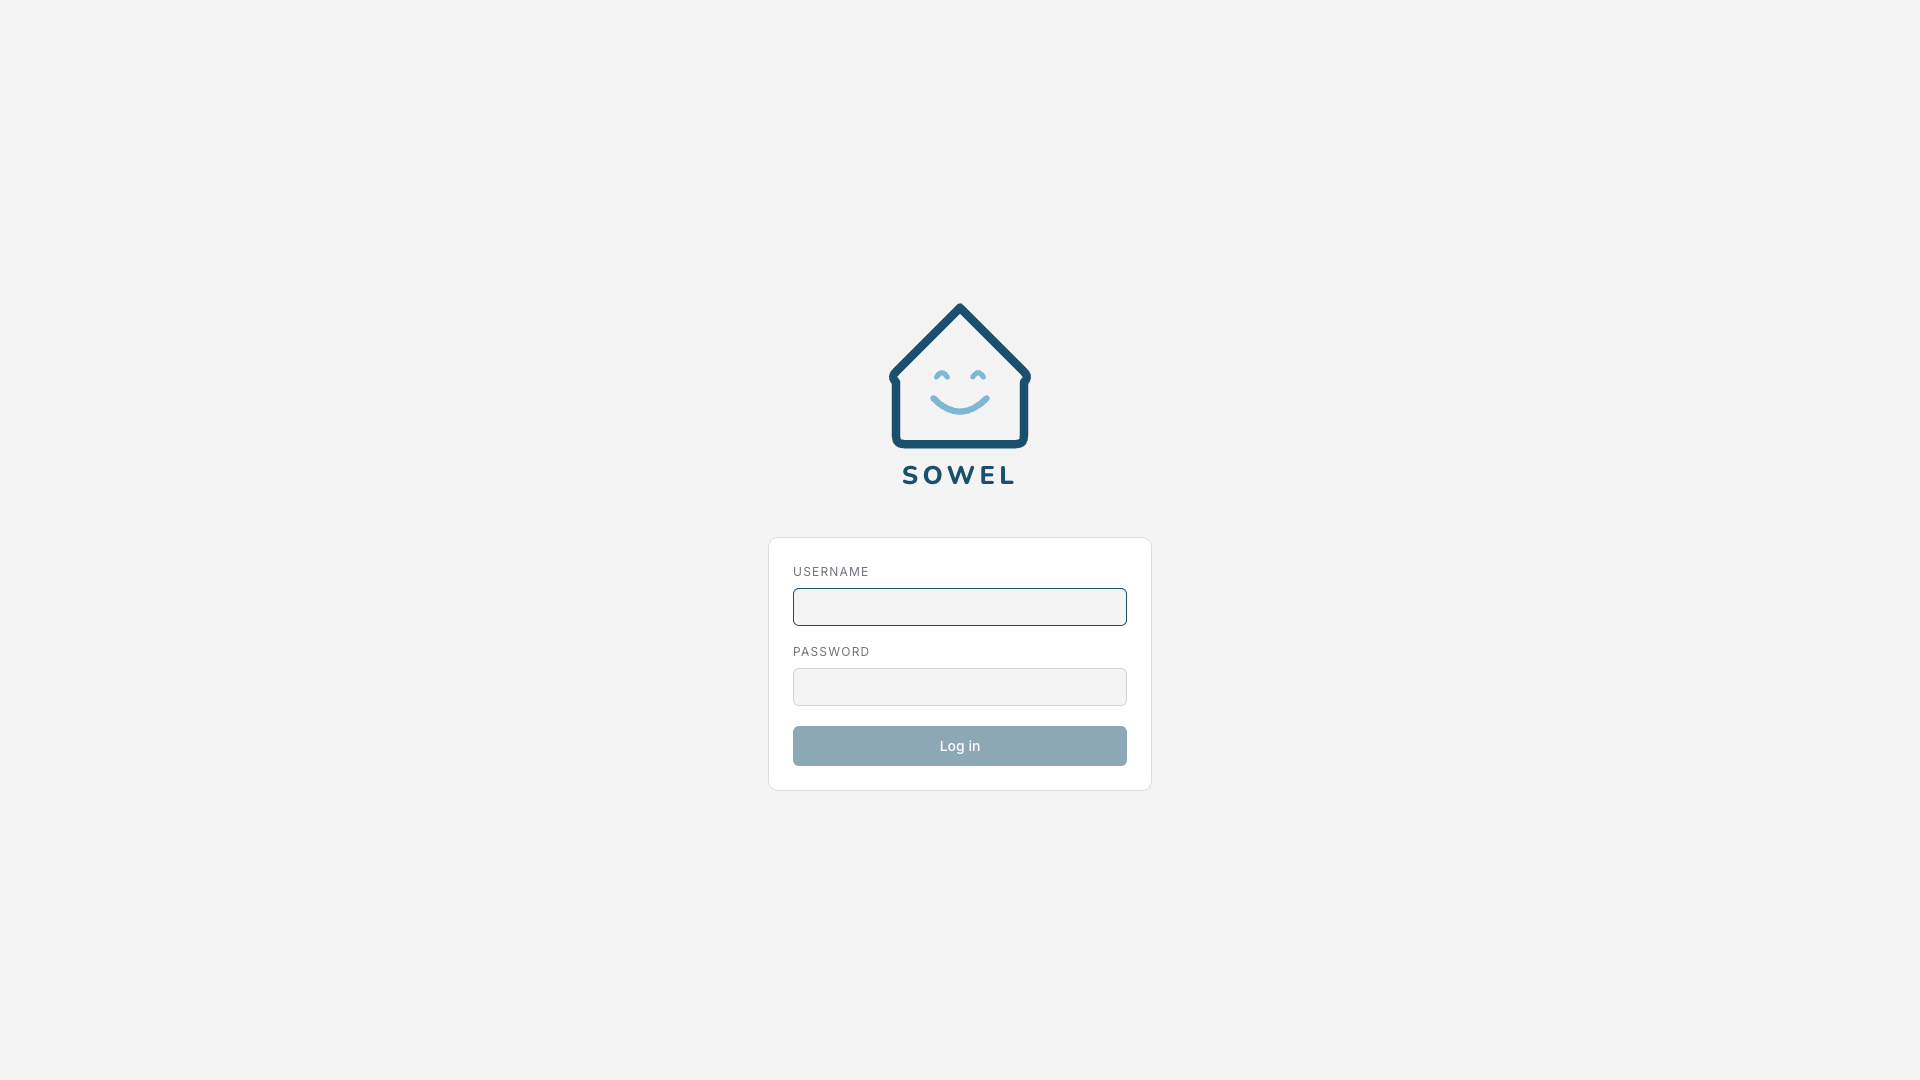
After the first account is created, the regular login screen greets you on subsequent visits:
Initial configuration
After logging in, follow these steps to set up your home.
Step 1: Tell Sowel where your home is
Right after the admin account is created, Sowel opens a welcome wizard that asks for the bare minimum it needs to run correctly: a home name and the home location.
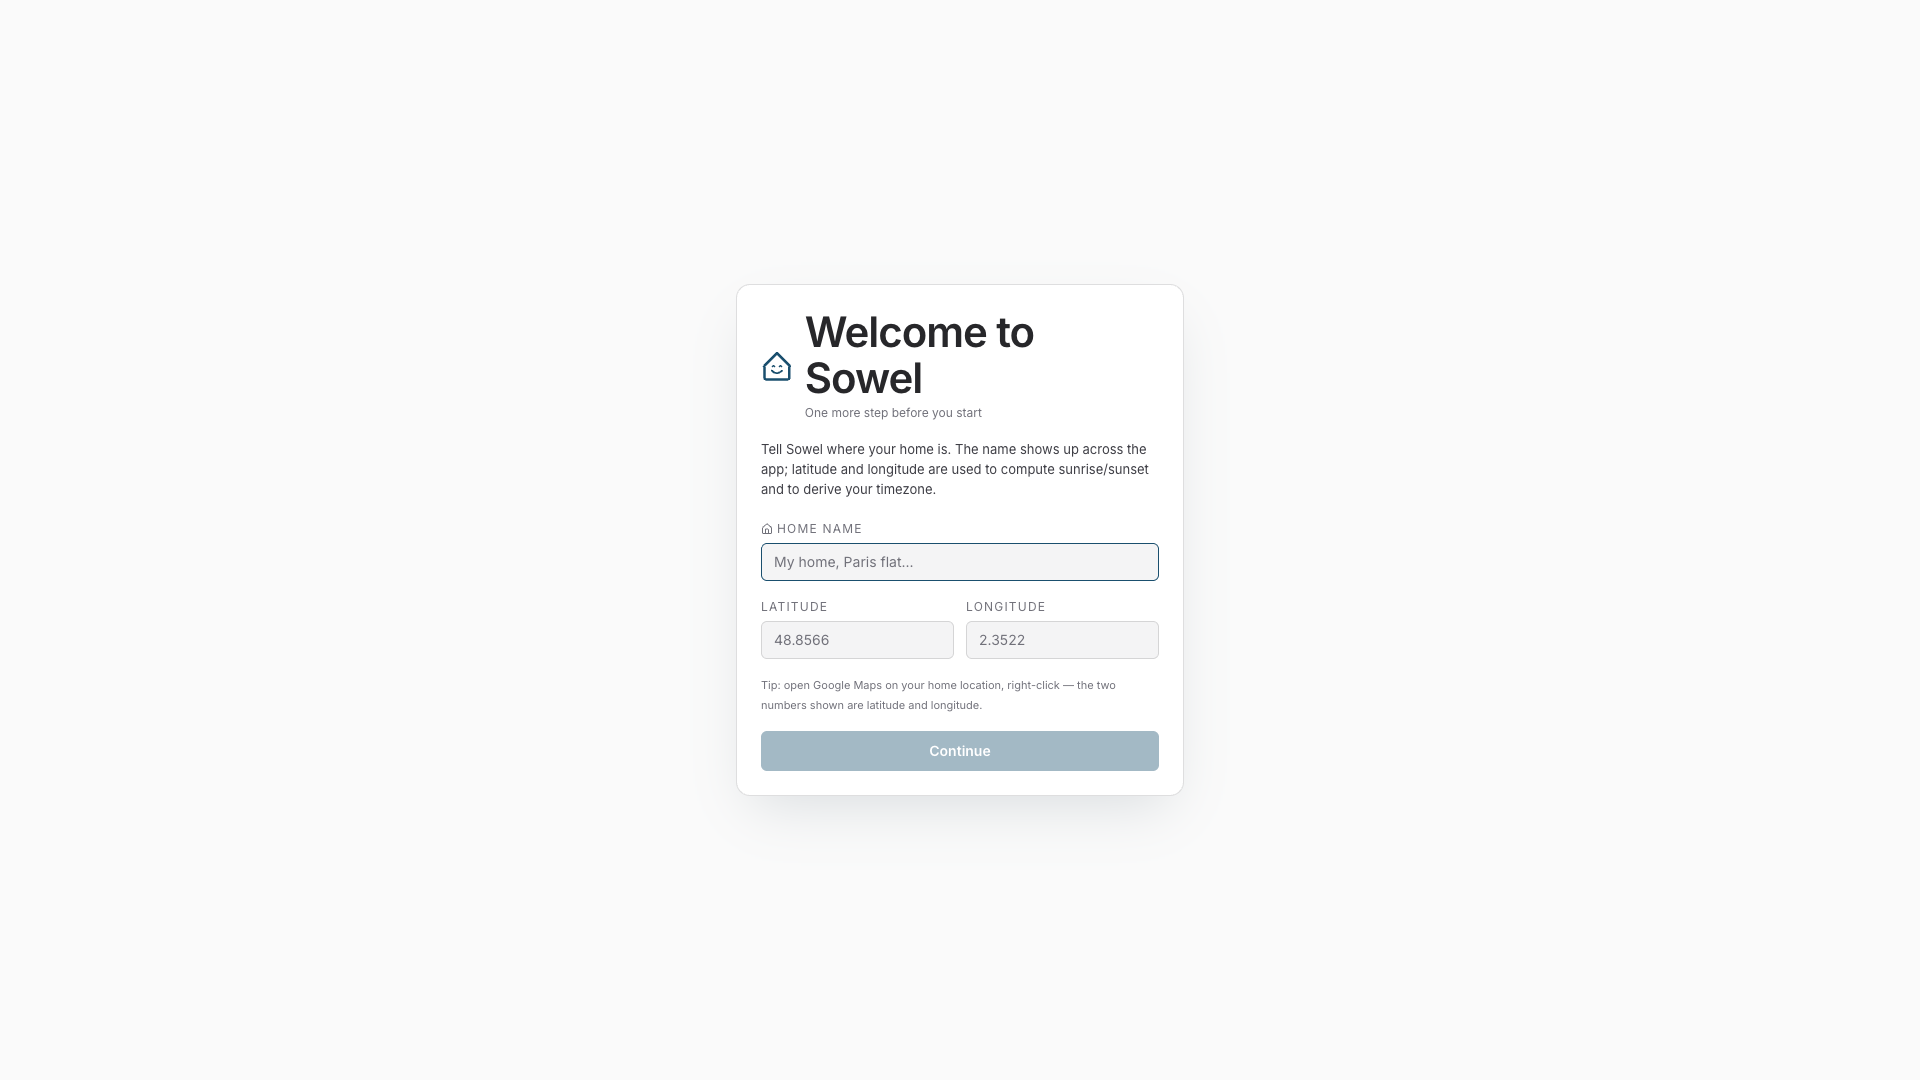
Fill in:
- Home name: a friendly label, e.g.
My Home - Latitude and Longitude: your home's geographic coordinates. You can get them from any map service (Google Maps, OpenStreetMap, etc.) by right-clicking on your location.
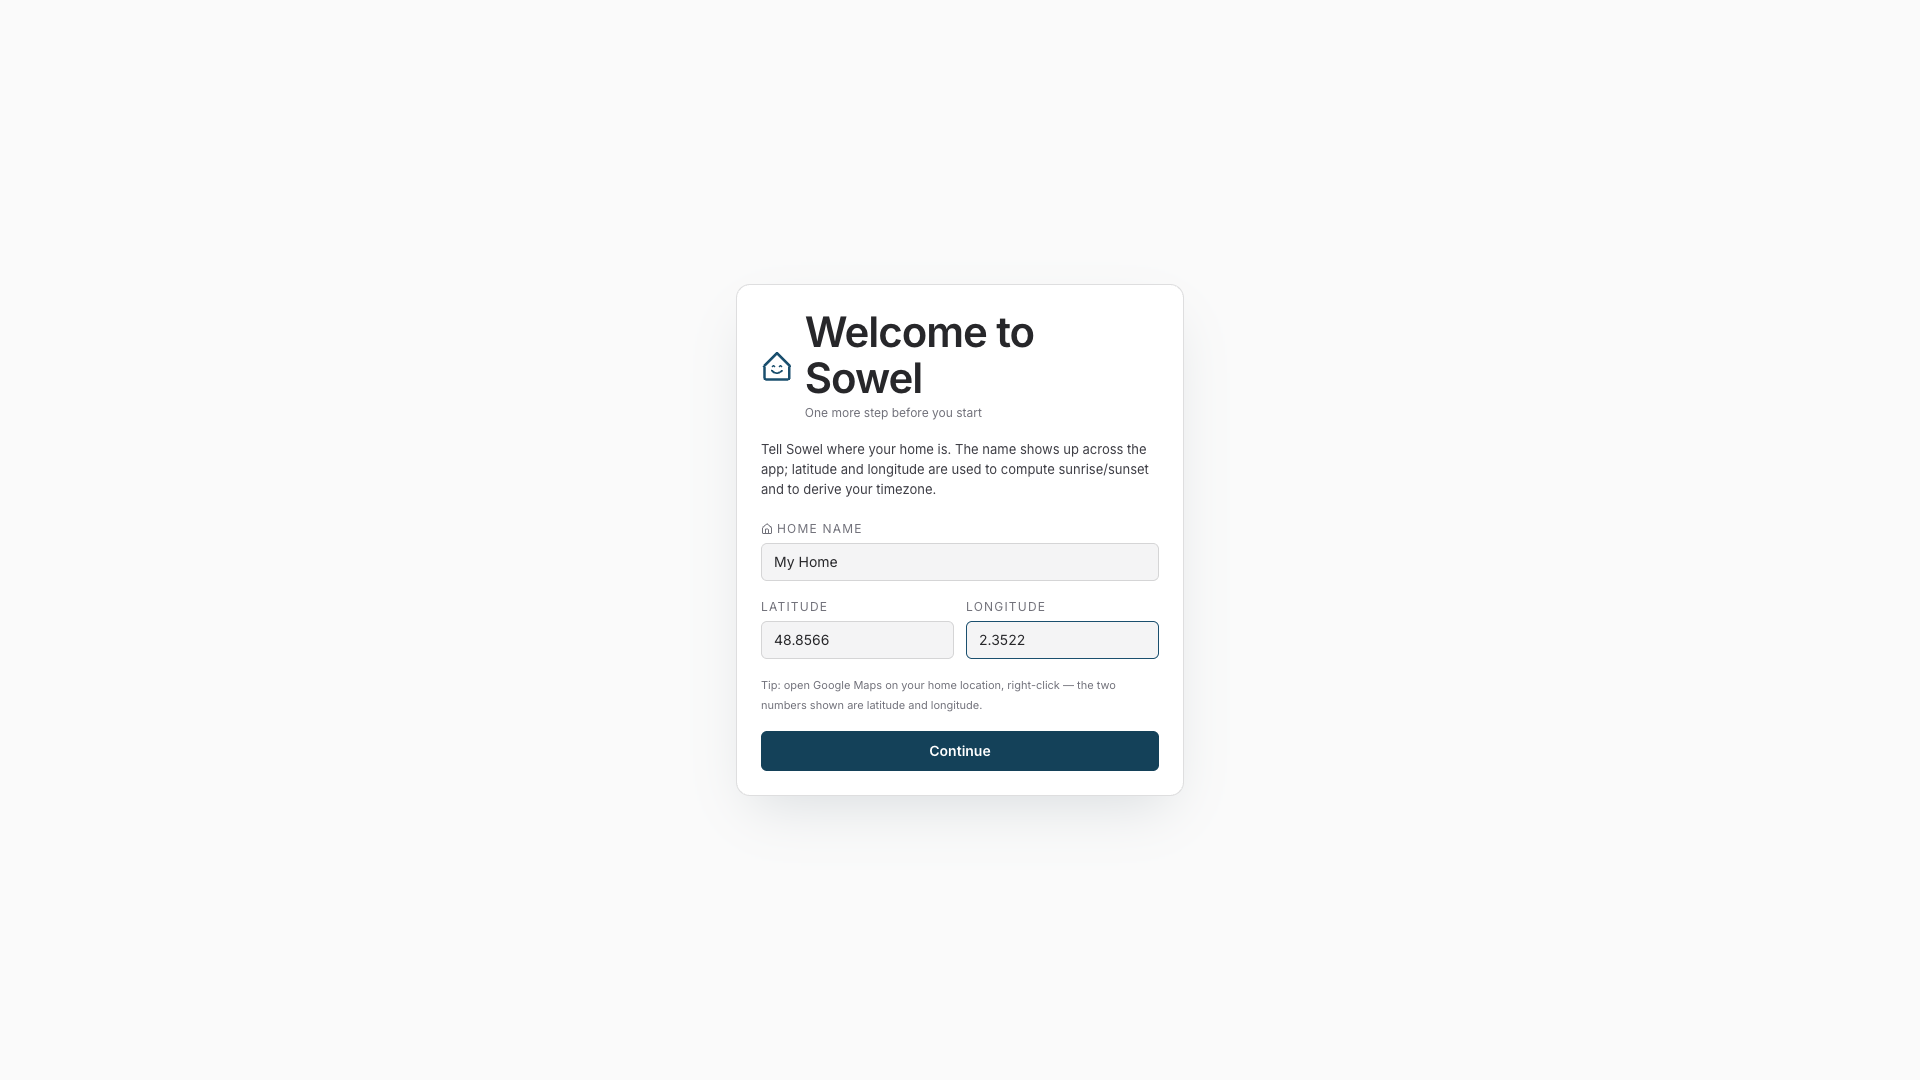
Click Continue. Sowel saves the settings, derives the local timezone from the coordinates, and restarts the engine. The wizard does not show up again on subsequent logins.
Why this is mandatory
Without latitude/longitude set, Sowel runs in UTC. Calendar-based mode scheduling, sunset shutters, and the HP/HC tariff classification on the Energy page will not work correctly until your home location is configured.
You can fine-tune sunrise/sunset offsets later from Settings: the defaults (30 / 45 minutes) suit most setups.
Step 2: Install and configure integrations
Open Administration > Plugins in the sidebar to browse the catalogue, then Administration > Integrations to configure the ones you installed.
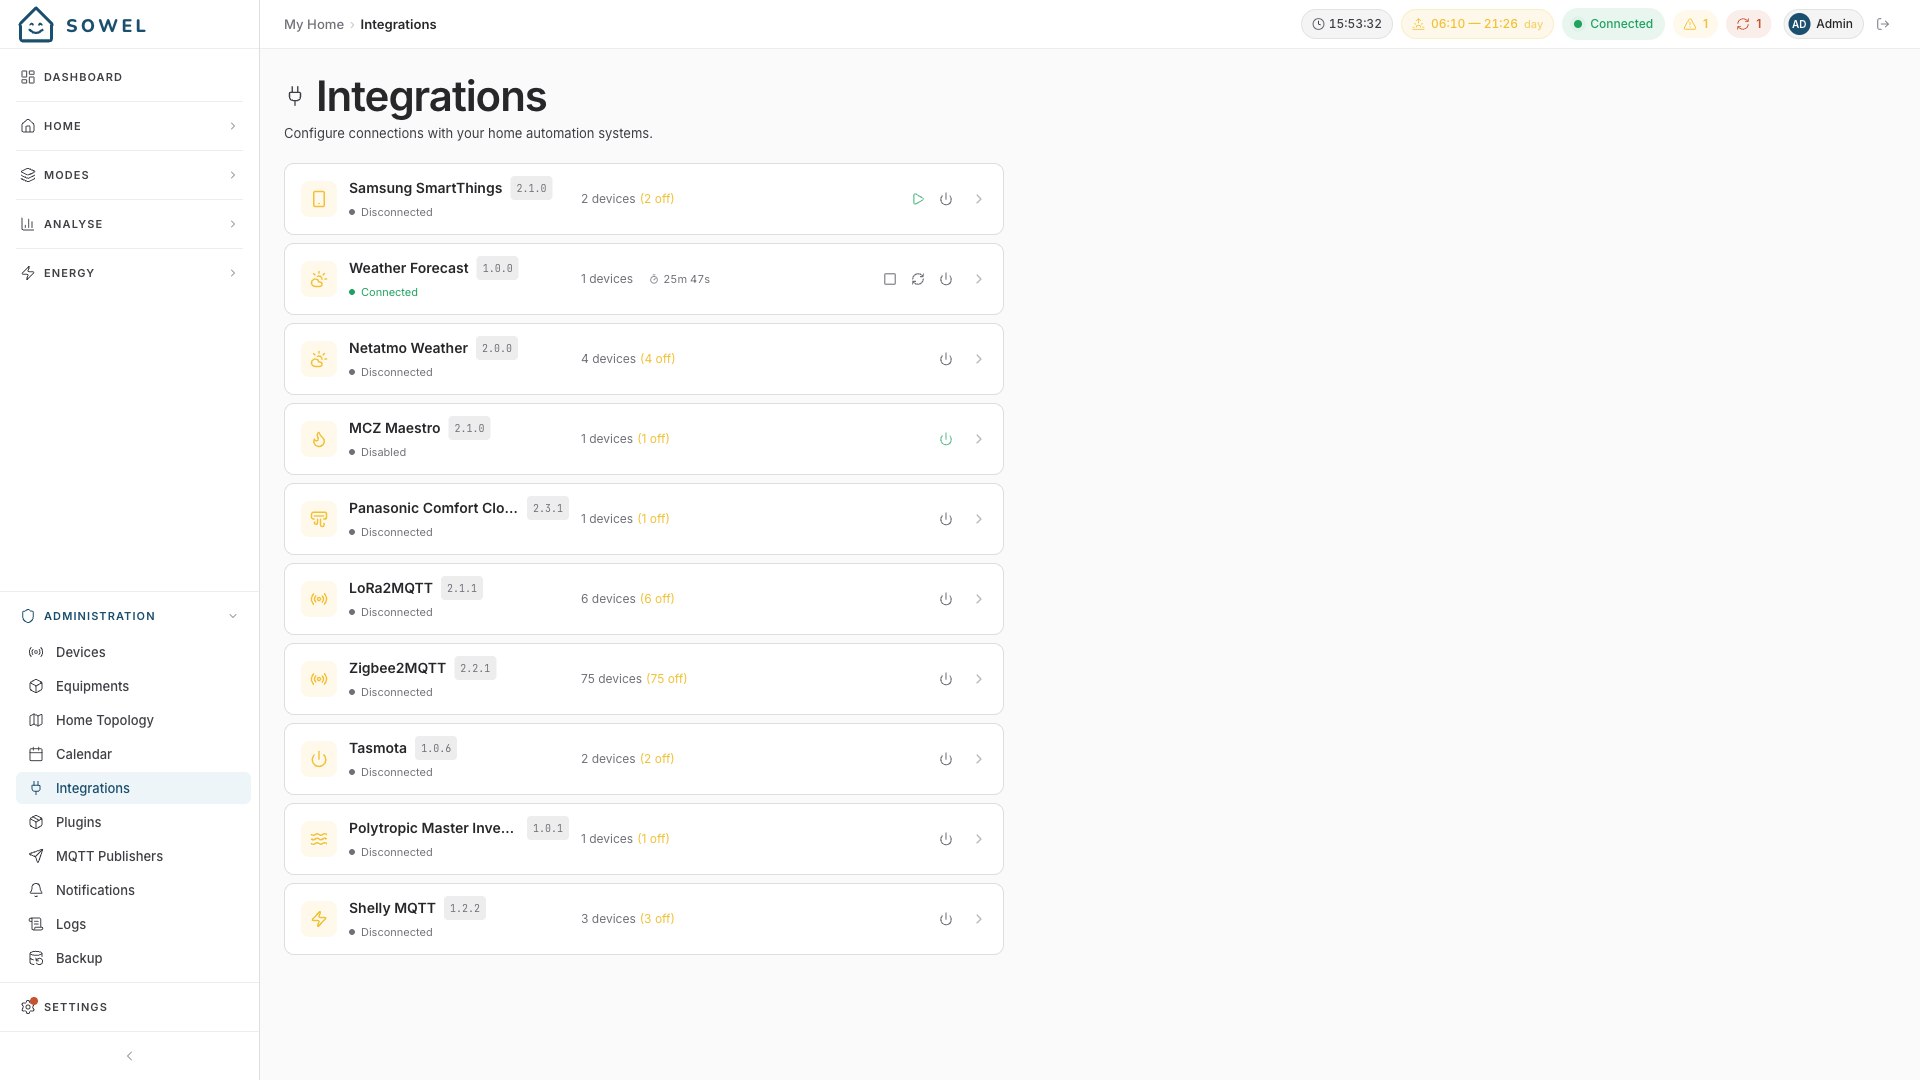
Each integration has its own settings panel. Settings vary: some need an MQTT broker URL (Zigbee2MQTT, LoRa2MQTT, Tasmota, Shelly), some need a cloud account (Panasonic, MCZ), some need OAuth credentials (Netatmo, Legrand, SmartThings). Each one ships with a help text describing what it expects.
Each integration shows a connection status indicator (green = connected). You can start, stop, or reload an integration without restarting the engine.
Tip
Integration settings are stored in the database, not in environment files. You configure everything from the UI.
Step 3: Verify device discovery
Go to Administration > Devices.
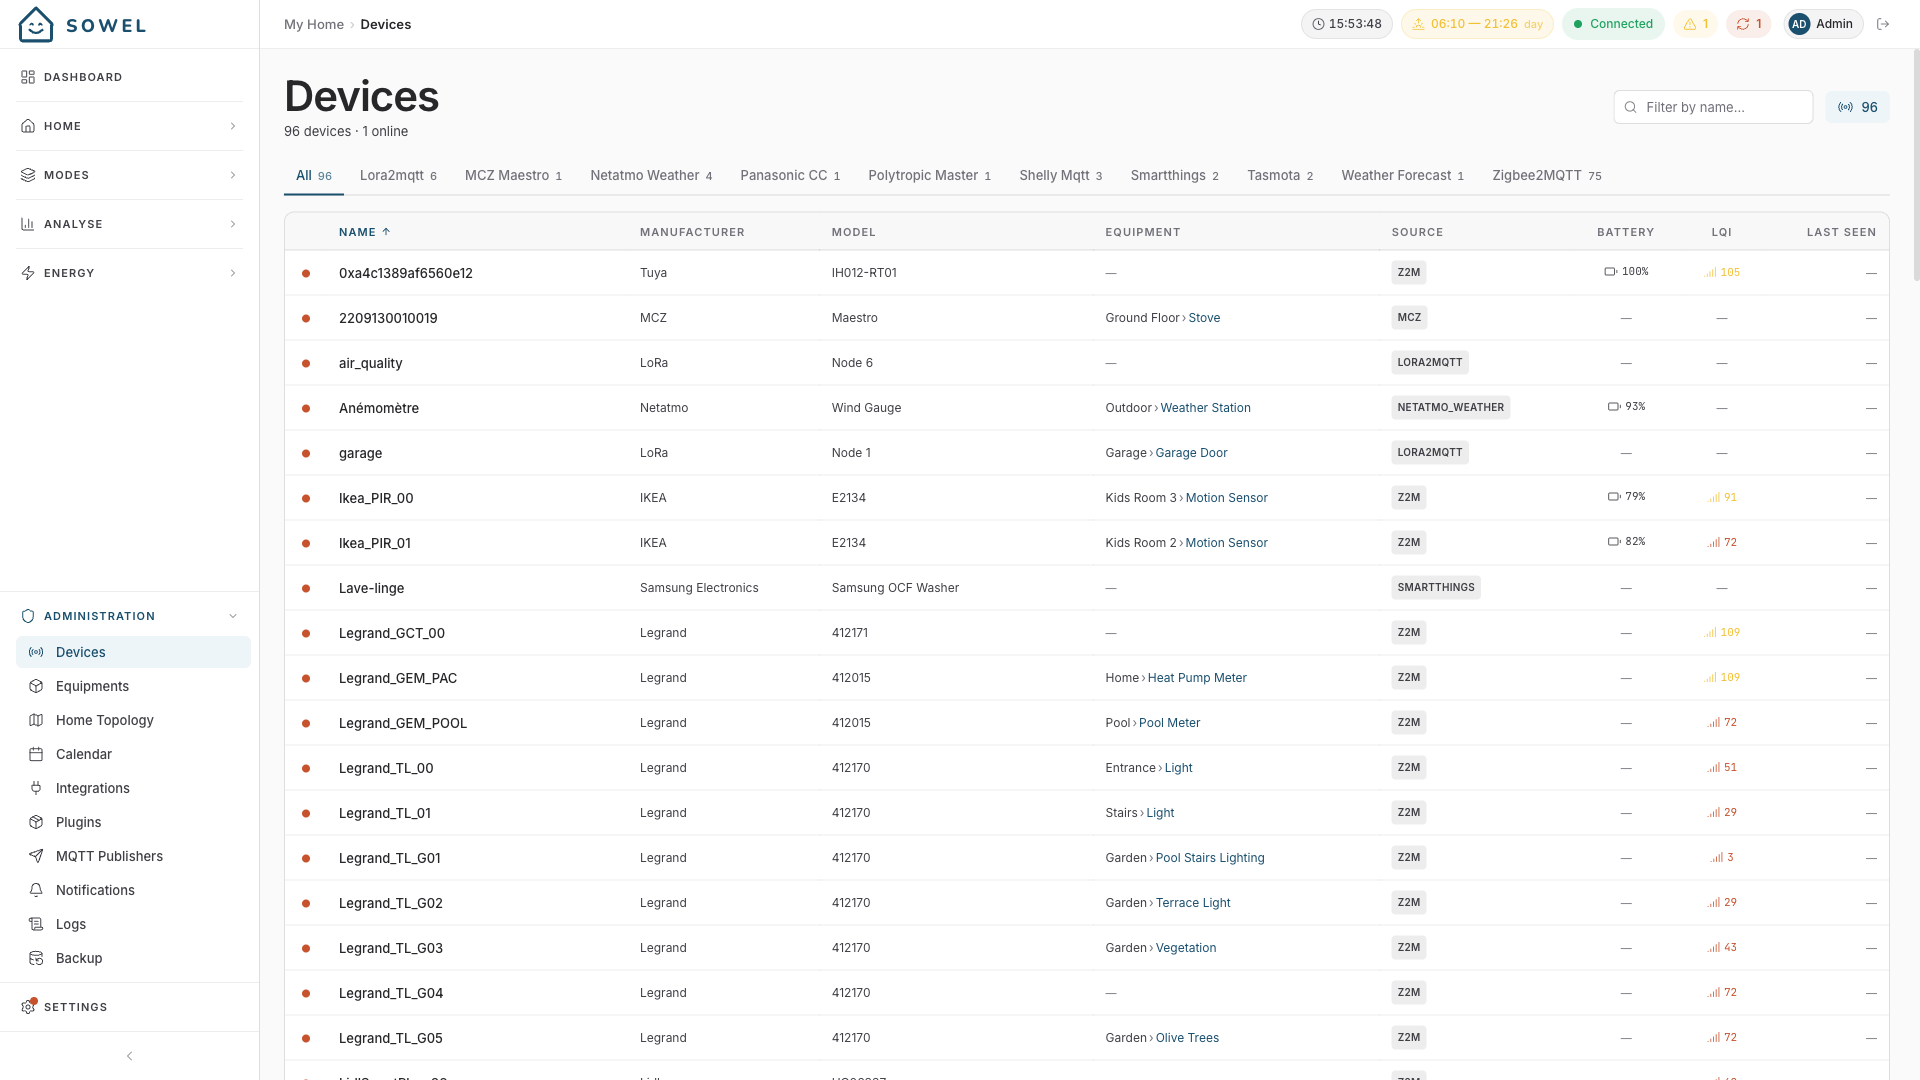
Once an integration connects, devices appear automatically. The table shows:
- Device name and source integration (Z2M, LORA2MQTT, MCZ, etc.)
- Manufacturer and model
- Connection status (green dot = online)
- Equipment binding (if already assigned)
Use the integration tabs at the top to filter by source. If devices do not appear, check that your integration is connected (green indicator) and that devices are paired with your coordinator or registered in your cloud account.
Step 4: Create your zone topology
Go to Administration > Topology.
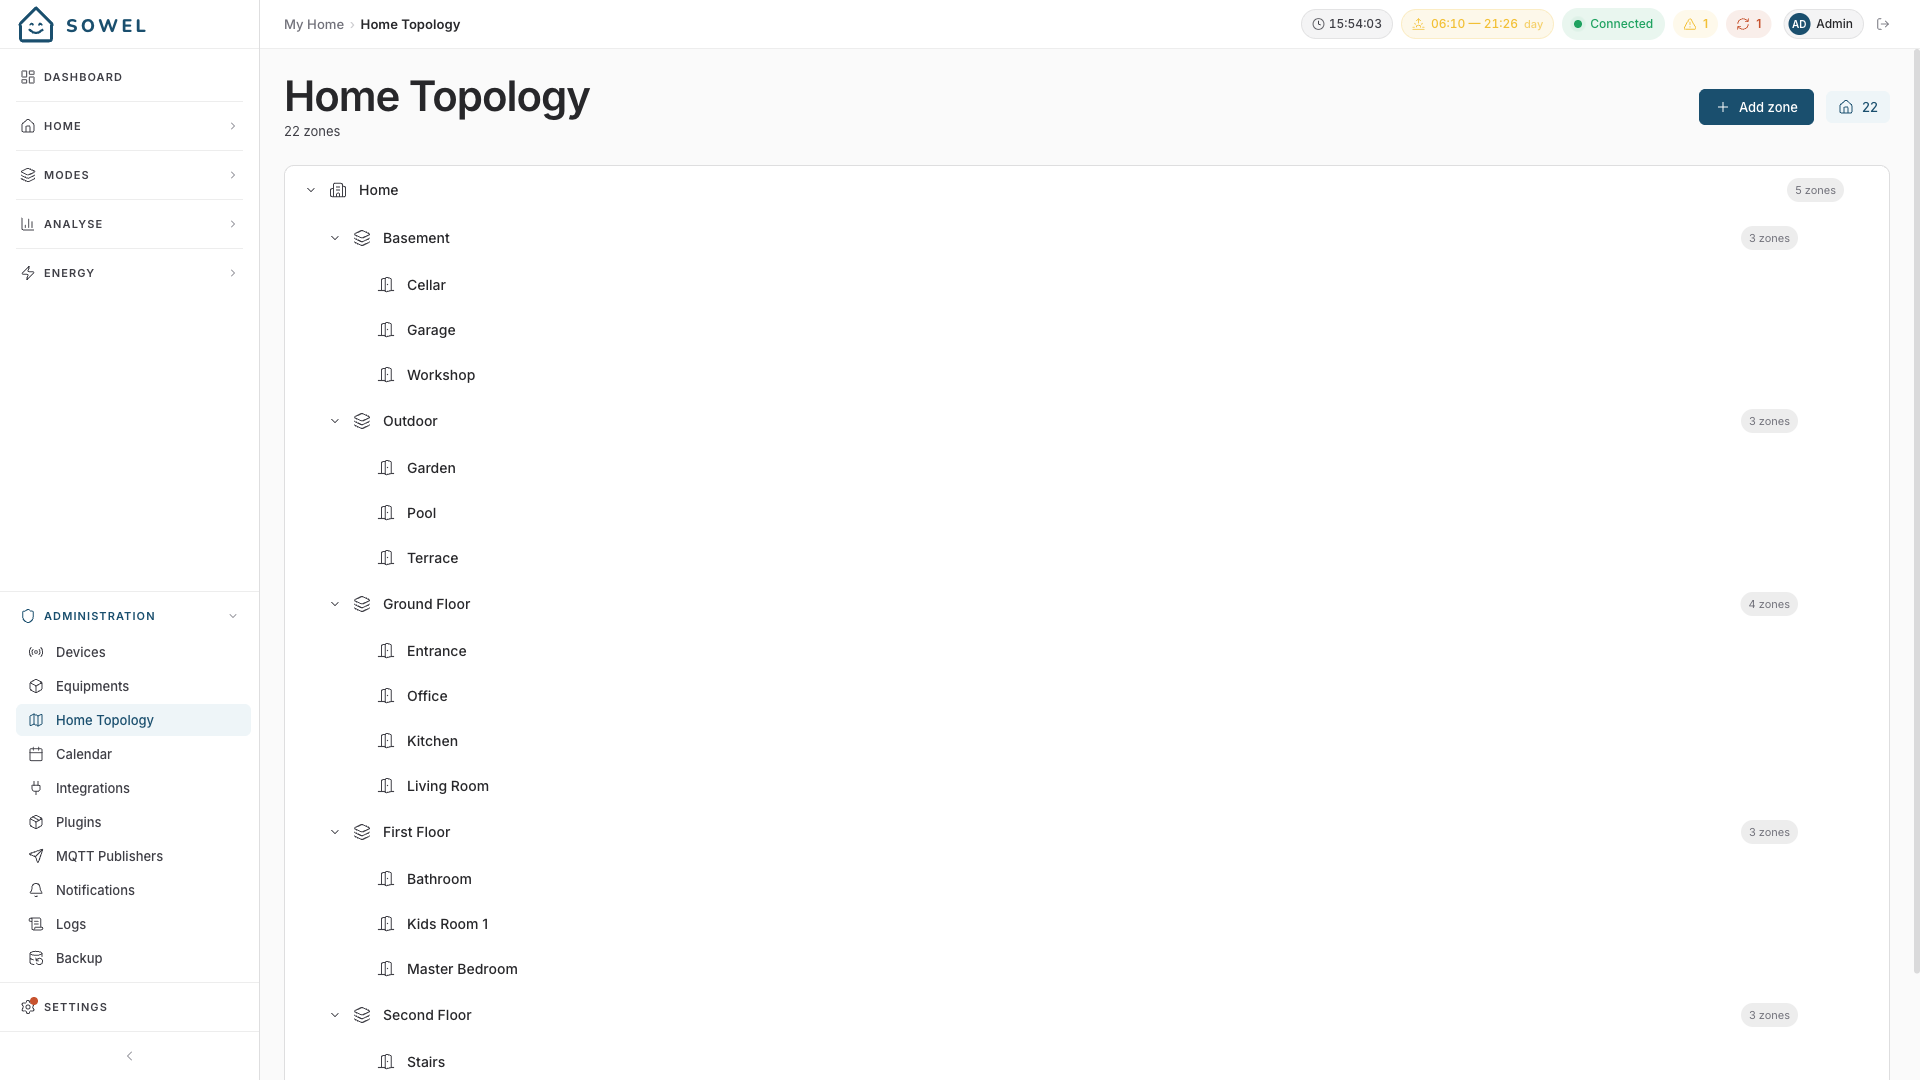
Build the spatial structure of your home as a nestable tree. A typical setup:
Home
  Ground Floor
    Living Room
    Kitchen
    Hallway
  First Floor
    Master Bedroom
    Kids Room
    Bathroom
  Outdoor
    Garden
    Garage
Use the + Add zone button to create zones, and the arrow buttons to reorder them. Zones can be nested to any depth. The zone tree appears in the Home sidebar for daily navigation.
Step 5: Create equipments
Go to Administration > Equipments.
For each functional unit in your home:
- Click Add Equipment
- Choose a type (light, shutter, sensor, thermostat, gate, water valve, etc.)
- Give it a name (e.g., "Living Room Spots")
- Assign it to a zone
- Bind the device data and orders
Tip
A single equipment can bind to multiple devices. For example, three dimmer modules behind the wall can be grouped as one "Living Room Spots" equipment. One toggle controls all three.
Step 6: Enjoy the Home view
Go to Home in the sidebar.
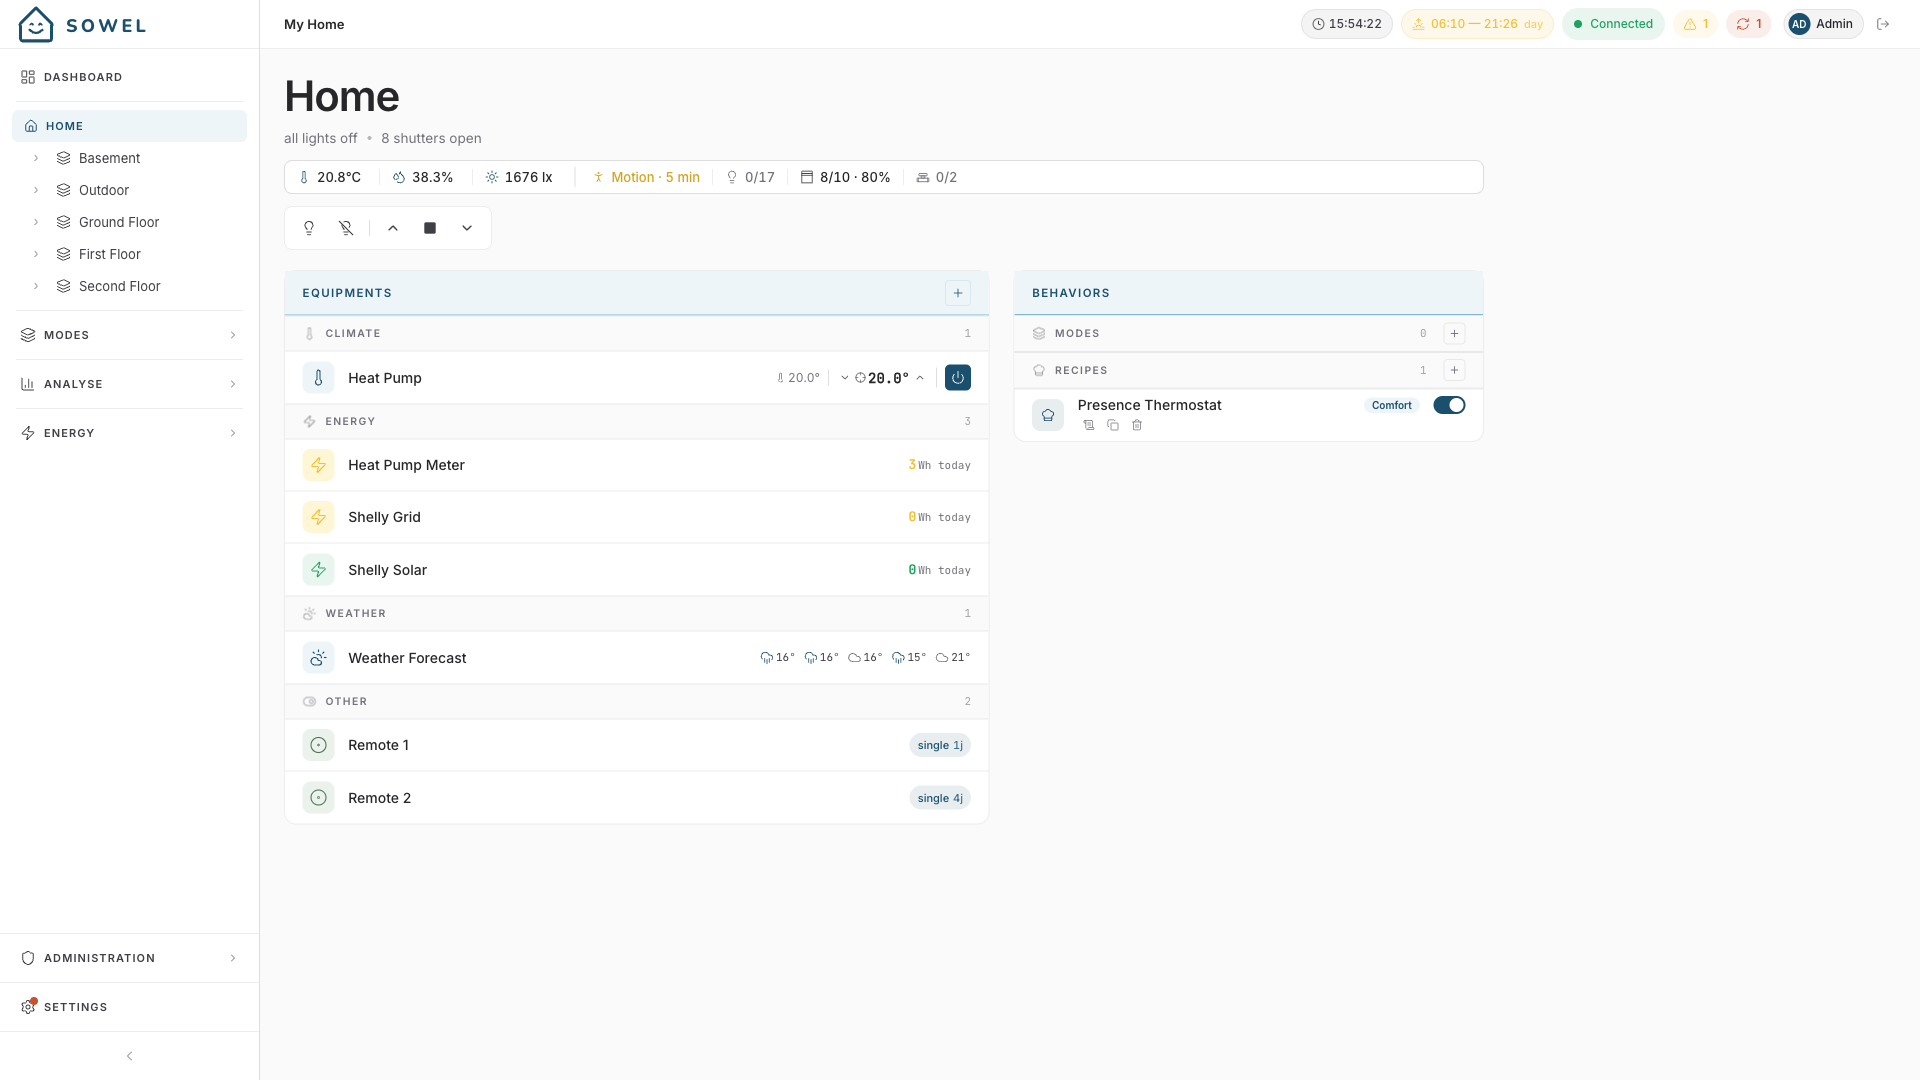
The zone tree appears on the left. Click any zone to see:
- Aggregated status -- temperature, humidity, luminosity, motion, lights count, shutter positions
- Zone commands -- batch actions (all lights on/off, all shutters open/close)
- Equipment cards -- grouped by type (Thermostat, Energy, Weather, etc.) with inline controls
- Behaviors -- recipes and modes configured for this zone
Step 7: Customize the dashboard
Go to Dashboard and click Edit.
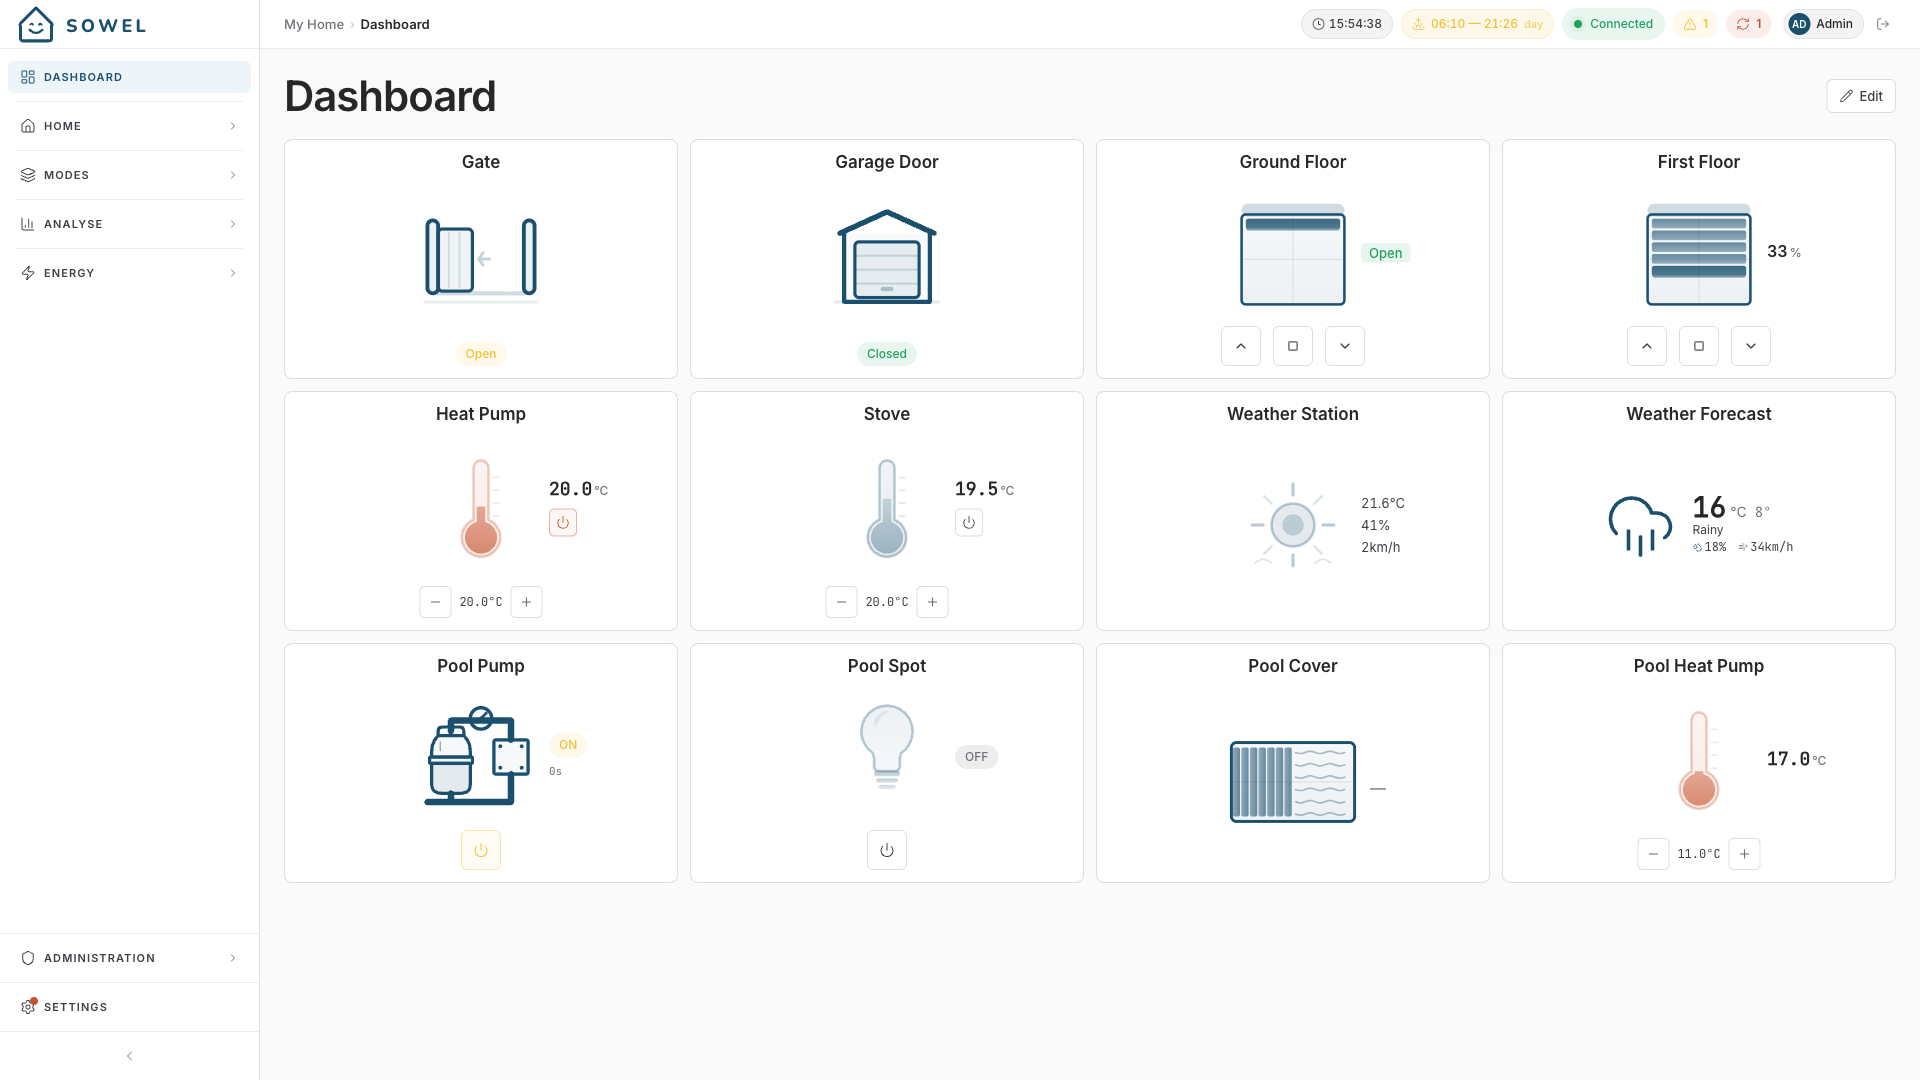
Add widgets for the equipment and zones you use most. Widgets update in real-time via WebSocket. You can reorder them by drag-and-drop, rename them, and customize their icons.
Your home is now set up. From here, you can:
- Customize your dashboard with more widgets
- Set up modes for different scenarios (Comfort, Away, Night)
- Monitor energy consumption
Environment variables
Sowel works out of the box with sensible defaults. For advanced configuration, you can set environment variables in a .env file at the project root:
| Variable | Default | Description |
|---|---|---|
SQLITE_PATH |
./data/sowel.db |
Database file location |
API_PORT |
3000 |
HTTP server port |
API_HOST |
0.0.0.0 |
Bind address |
LOG_LEVEL |
info |
Logging level (debug, info, warn, error) |
CORS_ORIGINS |
* |
Allowed CORS origins |
INFLUX_URL |
http://localhost:8086 |
InfluxDB URL |
INFLUX_ORG |
sowel |
InfluxDB organization |
INFLUX_BUCKET |
sowel |
InfluxDB primary bucket |
Note
JWT_SECRET and INFLUX_TOKEN are auto-generated on first launch and persisted in the data/ directory. You do not need to set them manually.